banner

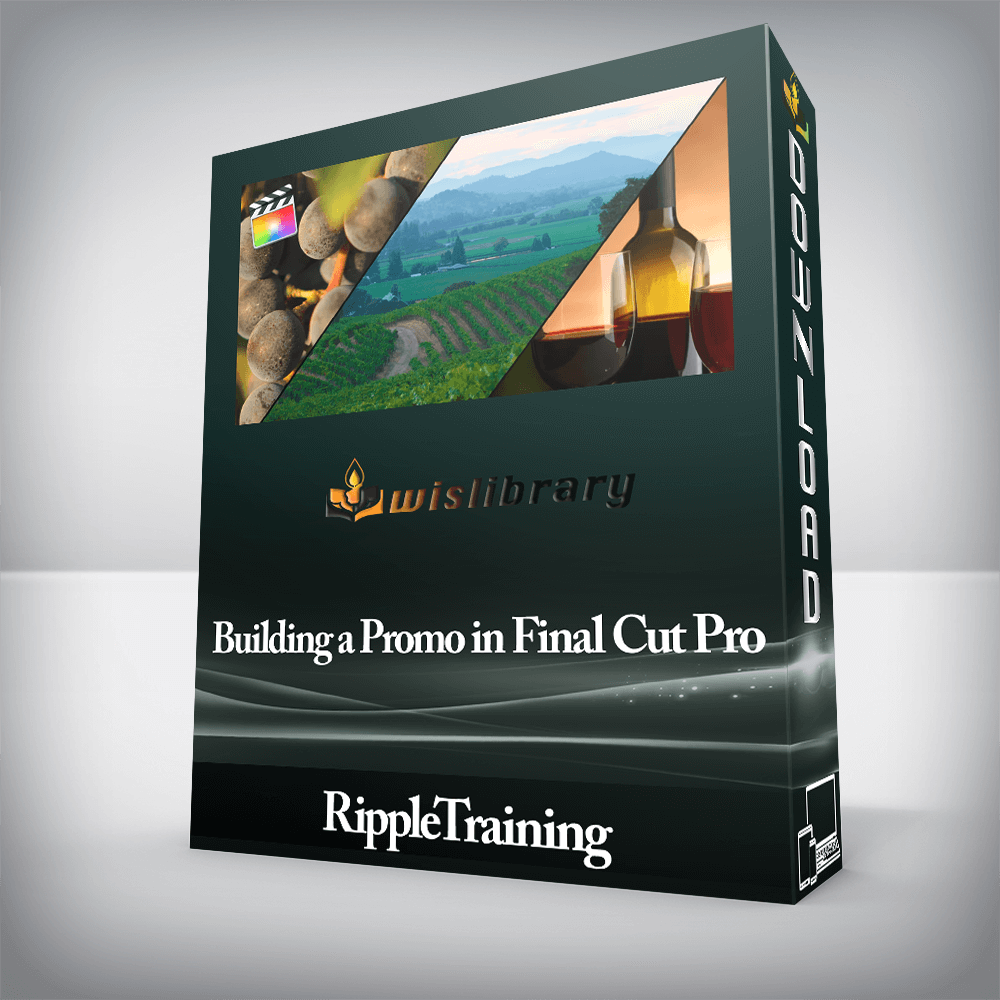
RippleTraining – Building a Promo in Final Cut Pro

🌟 Black Friday Special Use code: BLACK40 to save Up to 40% OFF on all products! Offer Ends Soon!🌟
img
img

This tutorial is for anyone who wants to understand the complete post workflow for importing, editing, color grading…

RippleTraining – Building a Promo in Final Cut Pro

RippleTraining - Building a Promo in Final Cut Pro

  • Archive Critical Camera Data
  • Organize Media with Speed & Efficiency
  • Work with Multicam Interviews
  • Improve Interview Dialogue
  • Import and Grade with RED media

Who this Tutorial is for:

This tutorial is for anyone who wants to understand the complete post workflow for importing, editing, color grading, audio sweetening and delivering a corporate video. This tutorial is an intermediate workflow tutorial and it assumes basic familiarity with the Final Cut Pro X user interface. Users who are new to Final Cut Pro should purchase Final Cut Pro X Core Training before working through this tutorial.

Software Version: Final Cut Pro 10.4.1 or later.  Free update coming with FCP 10.4 features added.

Run Time: 2 hours 31 minutes

Project Media: Project Media is Included

Type of Tutorial: Workflow Specific


Building a Promo in Final Cut Pro 10.4

1. Introduction

  • Tutorial Overview
  • The Project Brief
  • Production Scheduling
  • Production Gear
  • Quintessa Videos
  • Interview Setups

2. Creating Media Backups

  • Data Wrangling
  • The Necessity of Camera Archives
  • Backing Up Media Cards in the Finder
  • Maintaining Card Data Structures
  • The Anatomy of a Camera Archive

3. Importing Your Media

  • Choosing a Library Storage Option
  • Preparing Media for Import
  • Creating Multiple Selection Ranges
  • Clearing Selection Ranges
  • Importing Your Media

4. Importing Red Media

  • Setting up FCP X for RED Workflow
  • Understanding RED File Structures
  • Viewing R3D Media in the Import Window
  • Transcoding RED Media

5. Fixing Time Date Issues

  • Setting Up Your Workspace
  • Sorting by Content Creation Date
  • Getting Back to the Future
  • Assigning Custom Command

6. Warp Speed Clip Tagging

  • Pre-Organizing Your Media
  • Creating Keyword Collections
  • Skimmer Keyword Tagging
  • Rejecting Clips
  • Creating and Removing Keywords

7. Syncing & Organizing Interviews

  • Assigning Camera Metadata
  • Creating a Multicam Clip
  • Working in the Angle Viewer
  • Working in the Angle Editor
  • Checking Sync

8. Breaking Down the Interview

  • Rating the Interview
  • Naming Your Favorites
  • Reconfiguring the Smart Collection

9. Building the Rough Cut

  • Removing Filler Words
  • Using the Flow Transition
  • Creating Timing Space
  • Removing Unintelligible Words
  • Adding To Do Markers
  • Adding B-Roll

10. Refining the Edit – Part 1

  • Connect Edit Cutaways
  • Clip Filtering
  • Adjusting Clip Timing
  • Creating Connected Storylines
  • Matching Action
  • Rolling the Edit
  • Rippling the Edit

11. Refining the Edit – Part 2

  • Adding a Timing Gap
  • Auditioning Alternate Clips
  • Cutting to Angle B
  • Retiming a Clip
  • Lift from Storyline
  • Final Refinements

12. Sweetening the Soundtrack

  • Creating a Workspace
  • Evaluating the Audio Signal
  • Configuring the Audio for Effects
  • Working with a Limiter
  • Copying & Pasting the Limiter

13. Adding Music & Effects

  • Adding Music
  • Setting Proper Levels
  • Performing a 3-Point Edit
  • Ducking the Music
  • Timing Edits to Music
  • Adding Sound Effects

14. Primary Color Correction

  • Configuring the Scopes Window
  • Color Correction Commands
  • Improving Dynamic Range
  • Improving Color Saturation
  • Adding a Sharpen Filter
  • Copying & Pasting Corrections
  • Fixing Color Balance Issues
  • Apply Correction from Previous Edit
  • The Match Color Command
  • Subjective vs. Objective Corrections
  • Saving a Color Correction Preset

15. Secondary Color Correction

16. Color Correcting RED Media

  • Metadata Manipulation
  • Altering the RAW Settings
  • Transcoding RED Medi

17. Working with Titles & Graphics

  • Locating Titles & Generators
  • Previewing Titles
  • Adding a Lower Third
  • Repurposing Titles

18. Adding a Corporate ID

  • Adding a Graphic ID Template
  • Adding a Photo Background
  • Building the Graphic
  • Animating Photoshop Layers
  • Repurposing Graphics

19. Delivering the Finished Promo

  • Assigning Metadata
  • Creating Custom Metadata
  • Reusing Tags
  • Frame.io


Organize with Efficiency

When a client only gives you a few days to turn around a project, speed is everything. In this tutorial, we’ll show you our best methods for imposing organizational structure to the clips in your Library so you’ll spend less time searching for good material.

Tame the Peaks

Controlling your audio levels is essential for delivering a promo where the dialogue is normalized and is protected from audio clipping. We’ll show you how to properly monitor your sound levels and what specific audio effect works wonders on single-mic interviews.

Color Me Perfect

Shooting with a wide variety of cameras can present challenges for getting the contrast and color balance to look consistent across the edit. Using Final Cut Pro X’s video scopes and Color Tools, we’ll show you how to deal with the most common color correction scenarios you’re likely to encounter.

Build a Corporate ID

Working with logos and graphics are a common occurrence in corporate videos. In this tutorial, you’ll learn how to work with a layered Photoshop file and a photograph to create an animated template that can be used and modified in other projects.

There are no reviews yet.

Add a Review
Original price was: $59.00.Current price is: $17.00.

This tutorial is for anyone who wants to understand the complete post workflow for importing, editing, color grading...

Purchase this product now and earn 17 Points!
10 Points = $1