
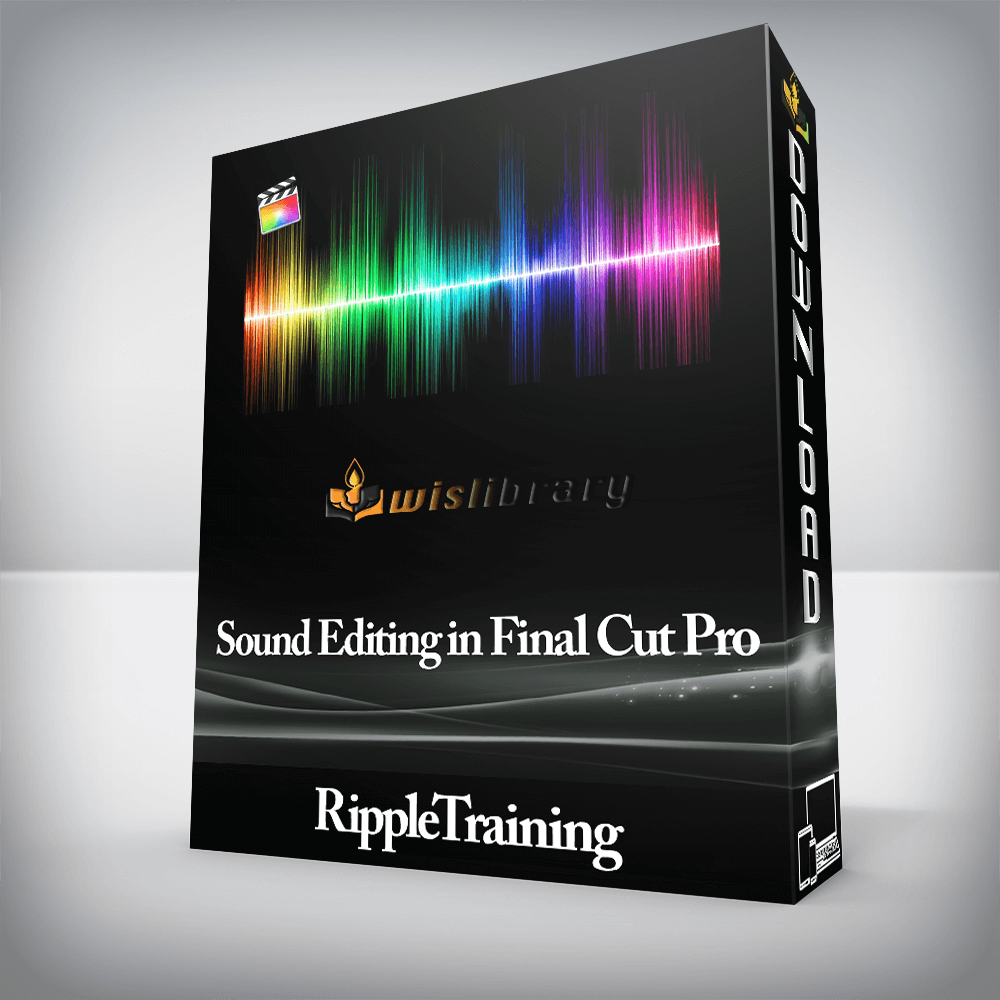

Sound Editing in Final Cut Pro X is for anyone who wants to improve the quality of their soundtracks.
Sound Editing in Final Cut Pro X is for anyone who wants to improve the quality of their soundtracks. This tutorial assumes basic familiarity with Final Cut Pro X’s user interface. Users who are new to Final Cut Pro X should purchase Final Cut Pro 10.4 Core Training before working through this tutorial.
Previous experience with legacy versions of Final Cut Pro or other editing software is not required. Each step in the editing workflow is presented in easy-to-follow learning modules that include chapter markers you can use to navigate to the section you want to watch.
Software Version: Final Cut Pro 10.4.1 and later.
Run Time: 2 hours 59 minutes
Project Media: The tutorial includes media files for following along in Final Cut Pro X.
Type of Tutorial: Intermediate
Final Cut Pro X gives you total control over your audio channels – what Final Cut Pro calls Components. We’ll show you how to organize your audio, so all your components are clearly labeled, and show you best practices for working with multi-channel synchronized clips.
You’ll learn how to apply and use EQs and Compressors for the purpose of making your dialogue and voiceovers stand out in the mix, and learn time-saving workflows for applying effects and volume adjustments to multiple audio components in your project.
This tutorial will teach you more than the what buttons to push. You’ll learn industry-proven workflows for organizing your dialogue, music and effects using Final Cut Pro’s Magnetic Timeline.
Professional sound editing often requires exporting D, M and E submixes for a network. You’ll learn how creating Role Components greatly simplifies the process of mixing and delivering master files.
Sound Editing in Final Cut Pro 10.4 is one of the tutorials included in the FCP 10.4 Essentials Bundle. The Essentials Bundle is highly recommended for anyone that wants an immersive curriculum that teaches fundamental workflows that unlock the full creative potential of Apple’s Final Cut Pro X software. Learn FCP X in a truly hands-on experience by working with included project media in an easy-to-grasp way that’s taught by a professional instructor.
There are no reviews yet.


You must be <a href="https://wislibrary.org/my-account/">logged in</a> to post a review.